 how-to
How to Understand Clinic Sterilization Protocols
Last Updated: November 2, 2026
Quick Summary
Clinic sterilization protocols follow three stages: cleaning removes physical debris, disinfection kills most germs, and sterilization destroys all microorganisms including bacterial spores. Cleaning must always come first, because leftover soil can block steam or chemicals from reaching the tool's surface. Instruments that contact sterile tissue or the bloodstream need sterilization, while tools touching only intact skin often need disinfection alone.
- Cleaning removes blood, tissue and soil with water, detergent and friction before any other step.
- Critical items that enter sterile tissue or the bloodstream require sterilization, not disinfection.
- The autoclave uses pressurized steam and runs a seven-step sequence from cleaning to logging the cycle.
- Biological indicators, or spore tests, are the strongest proof that a cycle killed resistant organisms.
- Store sterile items in sealed pouches in a clean, dry, dust-free cabinet away from sinks.
Table of Contents
- Why Clinic Sterilization Protocols Matter at Every Visit
- Cleaning, Disinfection and Sterilization: How the Three Stages Differ
- Which Instruments Need Sterilization Instead of Disinfection
- The Autoclave Sterilization Process, Step by Step
- Sterilization Monitoring Indicators That Confirm a Cycle Worked
- Sterile Instrument Storage and Handling After the Cycle
- Common Mistakes That Undermine Clinic Sterilization Protocols
- What to Look For at Your Next Appointment
- Frequently Asked Questions
Why Clinic Sterilization Protocols Matter at Every Visit
Clinic sterilization protocols explained in plain terms come down to one idea: every reusable tool that touches your body must be free of germs that can cause infection. Clinics following these protocols at every visit protect patients of all ages, from newborns to seniors.
The science behind them is not new. Researchers W. A. Rutala and D. J. Weber (2016) note in their review of disinfection and sterilization in health care facilities that the right method depends on how a device is used. Items that contact sterile tissue must be sterilized. Cleaning should always come first.
That order matters. A tool that looks clean can still carry germs. Proper clinic sterilization removes them before any instrument reaches you.
The same researchers (2023) confirm that well-run disinfection, sterilization and antisepsis practices support the safe use of both invasive and non-invasive medical devices. In short, the process is what keeps routine care routine.
Patients rarely see this work. But it happens before every appointment, and it is worth knowing how it runs. You can review our family medicine, walk-in services, and preventive health care to see the care these protocols support.
Cleaning, Disinfection and Sterilization: How the Three Stages Differ
The three stages differ in what they remove. Cleaning lifts physical debris. Disinfection kills most germs on a surface. Sterilization destroys all microorganisms, including bacterial spores.
Here is how each stage works:
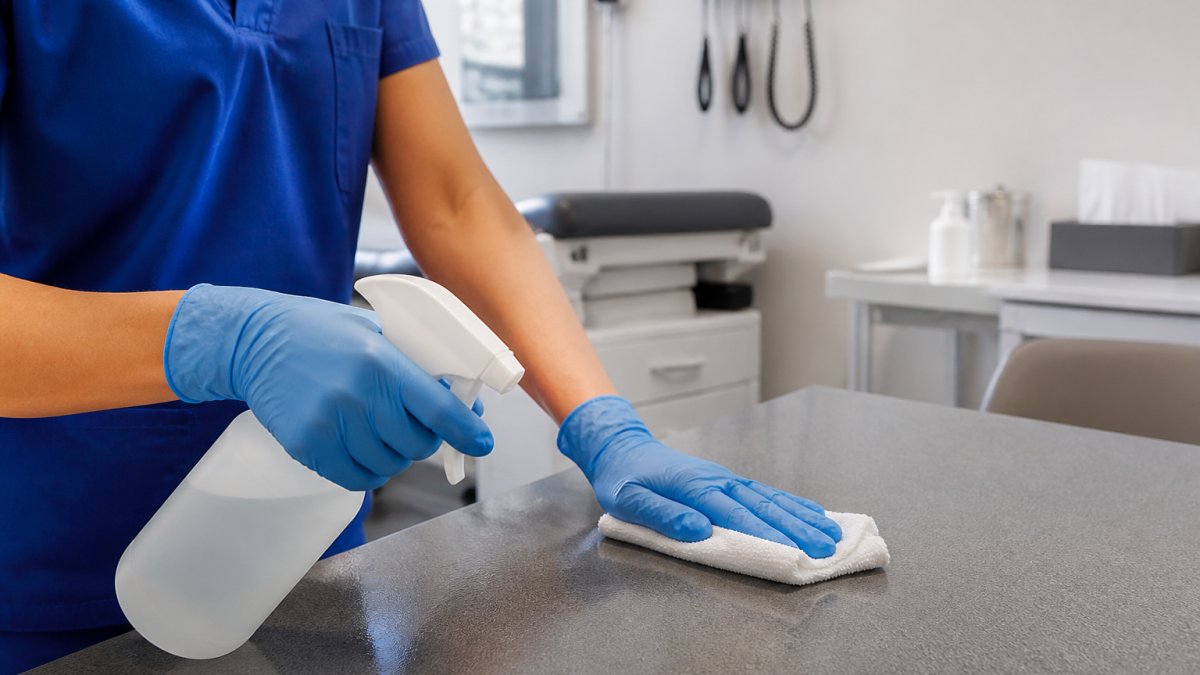
- Cleaning: Removes blood, tissue, and soil with water, detergent, and friction.
- Disinfection: Uses a chemical agent to kill most germs on a surface or tool.
- Sterilization: Uses heat, steam, or chemicals to destroy all microbial life.
Think of it as a ladder. Each step gets you cleaner, and you cannot skip a rung. A tool must be cleaned before it is disinfected or sterilized. Soil left on a surface can shield germs from the agent that follows. Consistent adherence to these sequential cleaning stages forms the bedrock of robust office hygiene standards that ensure every instrument remains safe for patient contact.
Why Cleaning Always Comes First
Cleaning always comes first because debris blocks the steps that follow. Leftover soil can stop steam or chemicals from reaching the tool's surface.
Rutala and Weber (2016) make this point directly: cleaning should precede high-level disinfection and sterilization. Skip it, and the later steps may not work.
A common mistake is treating cleaning as a quick rinse. In practice, it means scrubbing every hinge, groove, and channel. Any spot missed is a spot the sterilizer cannot reach.
Which Instruments Need Sterilization Instead of Disinfection
Instruments that contact sterile tissue or the bloodstream need sterilization, not disinfection. Tools that only touch intact skin often need disinfection alone.
The rule follows the device's intended use. Rutala and Weber (2016) group devices by the risk they carry:
- Critical items: Enter sterile tissue or the bloodstream. These need sterilization.
- Semi-critical items: Contact mucous membranes or broken skin. These need high-level disinfection at minimum.
- Non-critical items: Touch only intact skin. These need cleaning and low-level disinfection.
So a surgical instrument and a blood pressure cuff get very different treatment. That is why clinic sterilization protocols are matched to each tool, not applied the same way to everything.
The Autoclave Sterilization Process, Step by Step
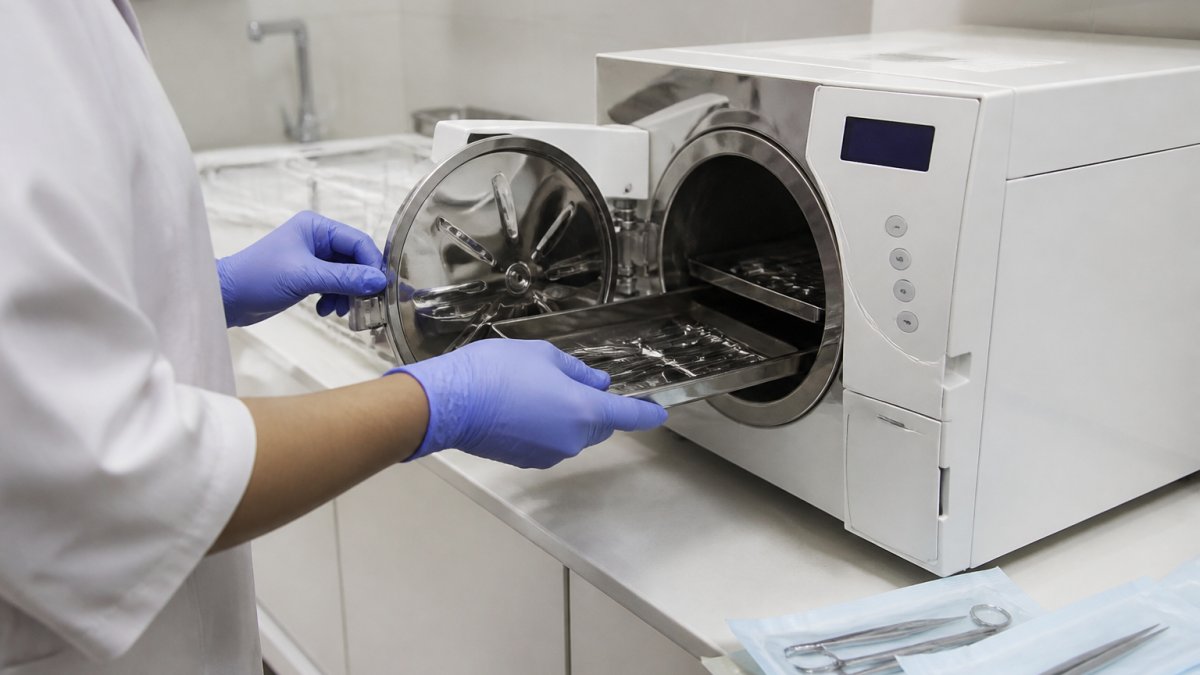
The autoclave sterilization process uses pressurized steam to kill all microorganisms on a tool. It is the most common method in clinics, and it runs in a set sequence.
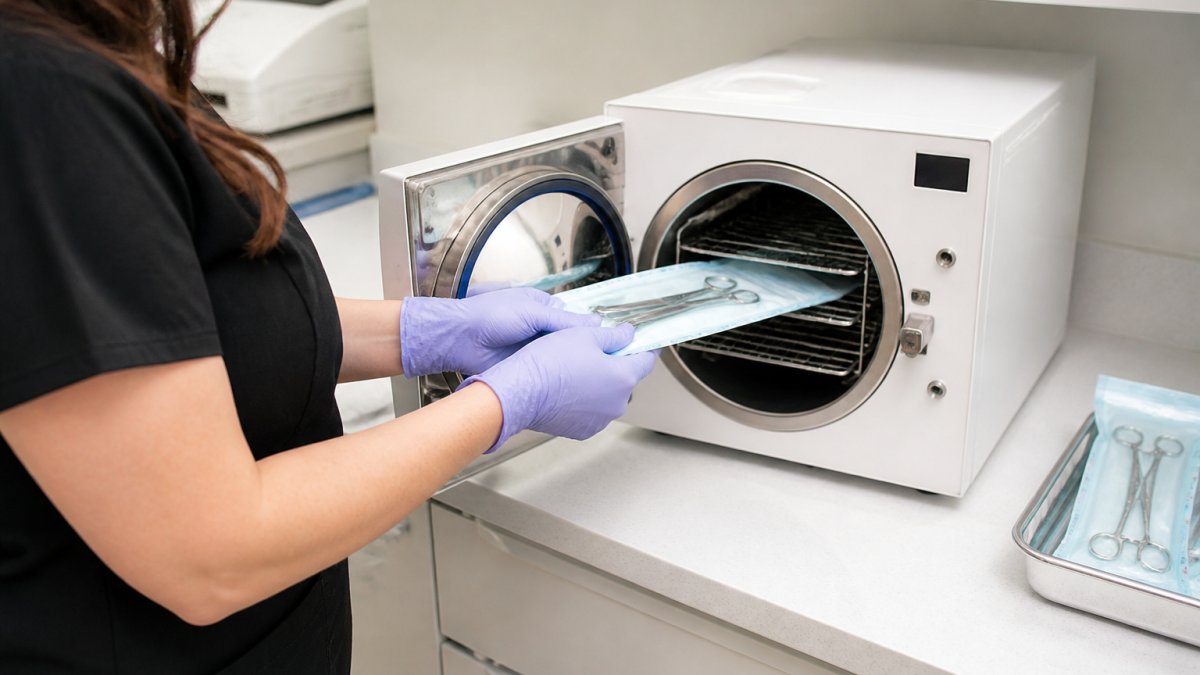
Here is the sequence, step by step:
- Clean and dry the instrument. Remove all soil and let it dry fully.
- Wrap or pouch the item. Use the correct wrap for the load type.
- Load the autoclave. Leave space for steam to move around each item.
- Run the cycle. Set the right time, temperature, and pressure for the load.
- Dry the load. Let items dry inside the unit to prevent recontamination.
- Check the indicators. Confirm the cycle worked before storing anything.
- Log the cycle. Record the result for traceability.
Preparing and Loading Instruments Correctly
Preparing and loading correctly decides whether the cycle works. Overloading is the most common error. Steam cannot reach a packed chamber.
Follow these loading rules:
- Place pouches on edge, not flat, so steam can circulate.
- Keep items apart. Do not let them touch the chamber walls.
- Do not mix heavy and light loads without adjusting the cycle.
- Use the wrap the autoclave maker specifies for each load.
Watch out: a load that looks full can still fail. If steam cannot reach a hinged joint, the tool stays contaminated even though the cycle ran.
The autoclave runs in a fixed sequence from dirty instrument to logged cycle.
| Step | What to do |
|---|---|
| 1 | Clean and dry the instrument fully |
| 2 | Wrap or pouch the item correctly |
| 3 | Load the autoclave with space for steam |
| 4 | Run the cycle at the right settings |
| 5 | Dry the load inside the unit |
| 6 | Check the indicators before storing |
| 7 | Log the cycle for traceability |
Sterilization Monitoring Indicators That Confirm a Cycle Worked
Sterilization monitoring indicators confirm that a cycle reached the conditions needed to kill germs. No single indicator proves it alone. Clinics use several together.
The main types are:
- Process indicators: Tape or pouches that change color when exposed to the cycle.
- Chemical indicators: Strips that react to heat, steam, or time.
- Biological indicators: Spore tests that show whether the cycle actually killed resistant organisms.
Process and chemical indicators show that conditions were met. Biological indicators are the strongest proof. Together, they give a clinic a reliable picture of each load.
A failed indicator means the load is not usable. Staff should pull it, check the autoclave, and rerun the cycle. Good clinic sterilization depends on treating a failure as a stop sign, not a minor hiccup.
Sterile Instrument Storage and Handling After the Cycle
Sterile instrument storage keeps items germ-free until they are used. A tool that is sterile but stored badly is no longer sterile.
Follow these storage and handling rules:
- Keep items in their sealed pouches until the moment of use.
- Store in a clean, dry, dust-free cabinet away from sinks.
- Check the pouch seal and date before every use.
- Handle with clean hands, and never set a sterile item on a wet surface.
- Restock older items first so nothing sits past its shelf life.
Moisture is the enemy. A damp pouch can let germs through the wrap. Store items well away from sinks and wet counters, and discard any pouch that looks torn or damp.
Proper sterile instrument storage is part of the same chain as cleaning and the autoclave cycle. Break one link and the whole process fails.
Common Mistakes That Undermine Clinic Sterilization Protocols
The most common mistakes are small ones that add up. Overloading, skipping the dry step, and trusting a single indicator all weaken the process.
Watch for these:
- Rushing the cleaning step and leaving soil on a joint.
- Packing the autoclave too tight for steam to circulate.
- Removing items before they are fully dry.
- Using a pouch with a broken seal.
- Storing sterile items near a sink or damp surface.
- Skipping the log, so a failed cycle goes unnoticed.
Each of these is easy to fix and easy to miss. Researchers C. J. Donskey and colleagues (2014) studied the risk of disease transmission when recommended sterilization practices are not followed. Their work shows why the details matter: a lapse in the process can carry real risk to patients.
For more related health guidance, you can browse our news and blogs.
What to Look For at Your Next Appointment
You can check a clinic's infection control without a science background. A few simple observations tell you a lot.
Look for these signs:
- Staff clean their hands before and after touching you or any equipment.
- Staff can explain how tools are cleaned and sterilized if you ask.
If something looks off, ask. A well-run clinic welcomes the question.
You can also contact us to book an appointment or ask about how we handle sterilization.
Sterilization is one of those things you should never have to wonder about. At Plains Road West Medical Clinic, we build it into every visit so you can focus on your health, not the equipment. Our walk-in services welcome patients of all ages, our team offers personalized care for women through every phase of life, and our pediatric care supports children from newborn to adolescent. Get started with Plains Road West Medical Clinic and book your next appointment.
Frequently Asked Questions
What are the steps in a clinic sterilization protocol?
A typical protocol runs in a fixed order: pre-clean instruments to remove blood and debris, then clean with detergent and water, dry them, inspect for damage, wrap and load them into the autoclave, run the cycle, check the monitoring indicators, and store the sterile packs in a closed cabinet. Cleaning must come before disinfection or sterilization, because leftover debris can shield microbes from the sterilizing agent.
What is the difference between cleaning, disinfection, and sterilization?
Cleaning removes visible soil, blood and organic matter with detergent and water. Disinfection reduces the number of disease-causing organisms on a surface but may not kill all of them, particularly bacterial spores. Sterilization destroys all microbial life, including spores, and is required for items that will contact sterile tissue or the bloodstream. The right method depends on a device's intended use, so a blood pressure cuff and a surgical forceps are treated very differently.
How do clinics check that a sterilizer is working properly?
Clinics use sterilization monitoring indicators at three levels. External chemical indicators on the pack change color to show the cycle was run. Internal chemical indicators sit inside the pack to confirm steam reached the contents. Biological indicators, containing bacterial spores, are processed and incubated to confirm the cycle actually killed the toughest organisms.
How should sterilized instruments be stored?
Sterile packs should stay wrapped until the moment of use and be kept in a clean, dry, closed cabinet away from sinks, windows and high-traffic areas. Damp storage or torn packaging compromises the sterile barrier, so Packs that sit unused for a long period may need reprocessing according to the clinic's policy, and any pack that looks damaged should be returned to the sterilization cycle rather than used.