 how-to
How to Verify Clinic Infection Control: 7-Step Guide
Last Updated: October 23, 2026
Quick Summary
To verify clinic infection control, walk through your space with a written checklist and score each item against a set rubric, covering hand hygiene, cleaning and disinfection, instrument reprocessing, PPE, and screening. Record evidence for every score and close each finding with a corrective action and a re-verification.
- Write each checklist item so it has a yes/no answer rather than a vague statement.
- Verify hand hygiene by observing staff behavior, not by asking about it.
- Confirm a chemical indicator in every load and biological indicators on the required schedule.
- Require 100% of critical items to pass before closing an audit cycle.
- Close a finding only when a second observation confirms the fix.
Table of Contents
- Why Verifying Clinic Infection Control Matters for Patient Safety
- Building Your Clinic Infection Control Checklist
- Step 1: Assess Infection Risks in Your Clinical Office
- Step 2: Verify Hand Hygiene in Healthcare Settings
- Step 3: Confirm Cleaning, Disinfection, and Instrument Reprocessing
- Step 4: Check PPE, Routine Practices, and Additional Precautions
- Step 5: Review Respiratory Illness Screening and Source Control
- Step 6: Score, Document, and Track Corrective Actions
- Frequently Asked Questions
Why Verifying Clinic Infection Control Matters for Patient Safety
Infection prevention and control is the set of practices a clinic uses to stop microorganisms from spreading between patients, staff, and visitors. Getting it right is not optional. A single lapse in hand hygiene or instrument reprocessing can put every person in the waiting room at risk. At Plains Road West Medical Clinic, we treat infection control as a daily habit, not a yearly paperwork exercise.
Building Your Clinic Infection Control Checklist
A clinic infection control checklist is a written list of the specific practices your team must confirm on a set schedule. It turns vague good intentions into checkable items. The best checklists are short enough to finish in one sitting and specific enough that two people would score the same item the same way. Build yours around the core elements below, then adapt it to your space.
Core Elements of a Practical Checklist
- Hand hygiene supplies stocked at every point of care
- Personal protective equipment available and within expiry
- Cleaning and disinfection schedule posted and signed off
- Instrument reprocessing steps logged with indicators
- Screening questions asked at the door and by phone
- Staff competency records current for every team member
- Corrective actions tracked to completion
Step 1: Assess Infection Risks in Your Clinical Office
Start with a risk assessment. Walk through your clinic room by room and ask where transmission could happen. High-risk areas include exam tables, shared waiting-room chairs, washrooms, and any spot where instruments are handled. Note the flow of people: where do patients sit, where do staff wash hands, and where do clean and dirty items cross paths? A simple floor plan with these zones marked gives you a map of infection risks. Review it whenever you change your layout or add a service.
Step 2: Verify Hand Hygiene in Healthcare Settings
Hand hygiene in healthcare settings is the single most effective way to reduce transmission (the WHO). Verify it in two ways: supplies and behavior. Check that alcohol-based hand rub or soap and water is available at every point of care, that dispensers work, and that staff clean hands before and after patient contact. Observation works better than asking. Watch a handful of interactions and record whether hand hygiene happened at the right moments.
Step 3: Confirm Cleaning, Disinfection, and Instrument Reprocessing
Cleaning removes soil (Cleaning and sanitation program). Disinfection kills most microorganisms on surfaces. Sterilization destroys all microorganisms on reusable instruments. Keep these three separate in your checks, because each has its own failure points and its own evidence trail. A clinic can pass a surface-cleaning check and still fail reprocessing, so verify them independently.
Environmental Cleaning and Disinfection
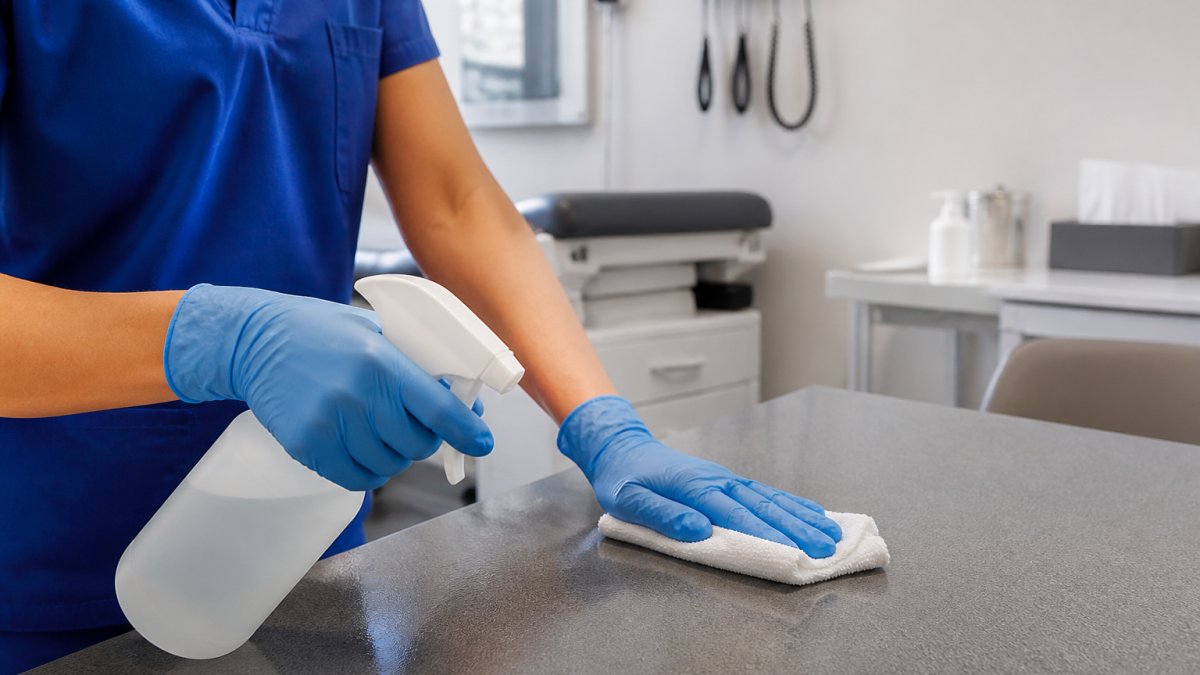
Confirm that high-touch surfaces, exam tables, door handles, waiting-room chairs, washroom fixtures, and shared equipment, are wiped on a posted schedule and that staff sign off after each clean. Check that the disinfectant is the correct product for the surface, is diluted as directed, and is within its expiry. Observe at least one clean between patients and confirm the contact time on the label is being met; a wipe that is dried off too soon does not disinfect.
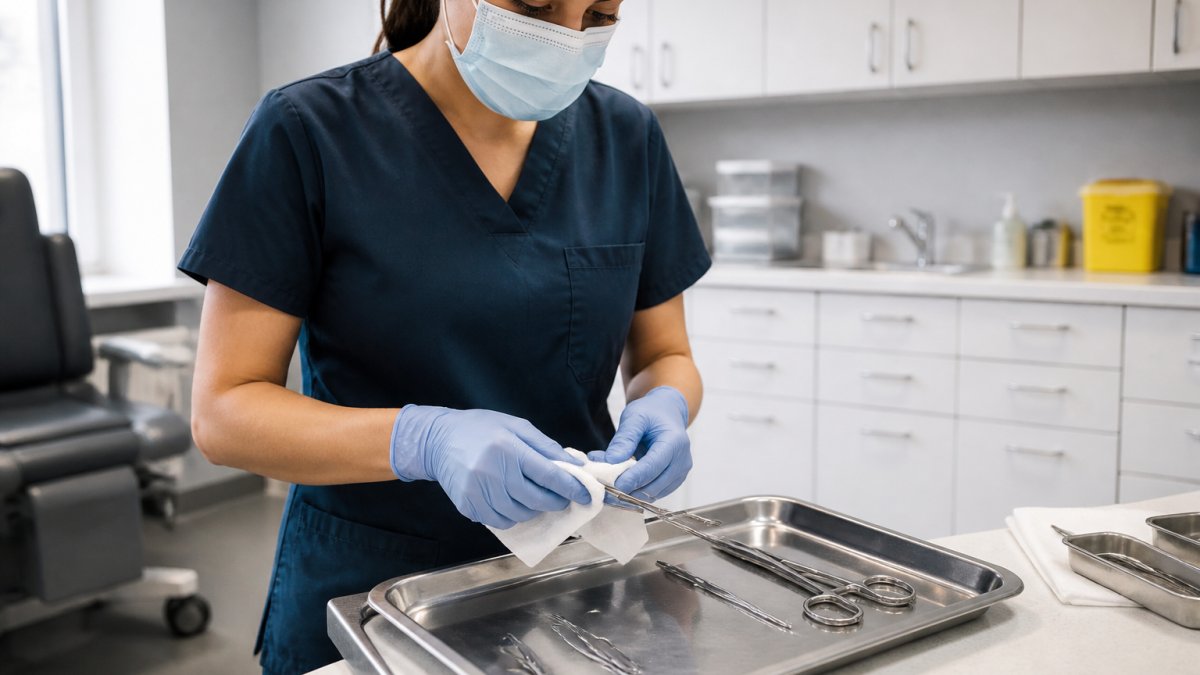
Instrument Reprocessing: Verify the Full Cycle
For reusable instruments, confirm the complete sequence rather than a single step:
- Transport and containment, contaminated items are kept separate from clean items and moved in closed containers.
- Cleaning, instruments are cleaned before disinfection or sterilization; soil left on a surface protects microorganisms.
- Disinfection or sterilization, the method matches the instrument and the intended use.
- Monitoring, a chemical indicator is in every load, and a biological indicator (BI test) runs on the schedule your sterilizer manufacturer and provincial guidance require.
- Storage, processed instruments are stored dry, protected, and separated from contaminated items.
What to Look For in the Log
A reprocessing log should let you trace a specific instrument set back to a specific load. Check that each entry records the date, the load or cycle number, the operator, the indicator result, and the BI result where one was run. If a BI fails, the load is held, the sterilizer is taken out of service, and the failure is investigated before any instrument from that load is used. Confirm staff know this rule and can describe it without looking it up.
Role-Specific Competency Checks
Do not rely on a binder to prove competence. Ask the person who reprocesses instruments to walk you through a load from dirty to stored, and watch for the steps they skip under time pressure. For cleaners, observe a room clean and confirm they know the contact time and the high-touch list.
Step 4: Check PPE, Routine Practices, and Additional Precautions
Routine practices apply to every patient, every time. They include gloves, gowns, masks, and eye protection when contact with blood or body fluids is likely. Additional precautions add more for specific situations, such as contact or droplet precautions for certain infections. Verify that PPE is stocked, fits, and sits within expiry. Then confirm staff know when to escalate from routine to additional precautions. Ask two or three team members to talk through a scenario.
Step 5: Review Respiratory Illness Screening and Source Control
Screening catches viral respiratory illness before it spreads through the waiting room. Check both channels: telephone screening when patients book, and signage plus a quick question at the door. Confirm that masks and hand rub are available at entry for anyone with symptoms, and that staff know where to seat a symptomatic patient away from others. Source control means stopping droplets at the source, so a well-placed mask and a separate waiting spot do most of the work. Review your screening questions each season.
Step 6: Score, Document, and Track Corrective Actions
Verification only counts if you can prove what you saw, when you saw it, and what you did about it. This is where most clinic audits fall apart: the walkthrough happens, a few boxes get ticked, and then the findings sit in a binder until the next inspection. Build the scoring, evidence, and follow-up into one loop so a finding cannot quietly disappear.
Build a Scoring Rubric Before You Audit
Score every checklist item on a three-point scale so two auditors would reach the same result:
- Pass (2 points): The item is fully met and evidence is present.
- Partial (1 point): The item is partly met, or met but undocumented.
- Fail (0 points): The item is not met, or a critical control is missing.
Separate your items into critical and non-critical. Critical items are the ones where a single failure creates immediate transmission risk, hand hygiene supplies at the point of care, sterilizer biological indicator logs, PPE within expiry, and reprocessing records for every load. A common pattern is to require 100% of critical items to pass and a compliance score of at least 85% on non-critical items before an audit cycle is considered closed.
Set Escalation Thresholds
A score is only useful if it triggers action. Agree in advance what happens at each level:
| Result | Response |
|---|---|
| Any critical item fails | Stop the affected process, correct immediately, notify the clinic lead the same day |
| Non-critical compliance below 85% | Open corrective actions with owners and due dates; re-verify within 30 days |
| Non-critical compliance 85% or higher with no critical failures | Log the result, note minor observations, re-audit on schedule |
| Repeat failure on the same item in two cycles | Escalate to the clinic lead and review the underlying process, not just the item |
Keep an Evidence Log
For each scored item, record four things: the date and time, the auditor, the observation or record reviewed, and the evidence itself. Evidence can be a signed observation form, a photocopied log sheet, a photo of a stocked hand-hygiene station, or a screenshot of an electronic reprocessing record. Where you take photos, frame them so no patient identifiers, faces, or charts are visible, and store them in a secured folder with access limited to the audit team. Keep the log for the period your provincial regulator or accreditor expects, and make sure it can be produced on request.
Close the Loop with Corrective Actions
Every failed or partial item gets a corrective action with three fields: the fix, the owner, and the due date. The owner should be the person who can actually make the change, not a generic role. When the due date arrives, re-verify the item with the same scoring method and record the result. Only then close the action. A finding is not closed because someone said it was fixed; it is closed because a second observation confirmed it.
Frequently Asked Questions
What are the 5 F's of infection control?
The 5 F's are a memory aid used in infection prevention and control: Fingers (hand hygiene), Face (PPE such as masks and eye protection), Fluid (safe handling of blood and body fluids), Feet (environmental cleaning and safe footwear), and Fomites (cleaning shared surfaces and equipment). Together they cover the main routes by which microorganisms spread in a clinical office. When you verify clinic infection control, check that staff can explain each F and that your checklist includes observations for all five.
How can patients check a clinic's infection control practices?
Patients can look for visible hand hygiene stations, ask staff how often shared equipment is cleaned, and check whether the clinic posts its IPAC policies or inspection results. In Ontario, public health units publish inspection reports for certain premises, and clinics should be able to explain their cleaning schedules and sterilization logs. Asking direct questions about hand hygiene in healthcare settings and instrument reprocessing is reasonable and shows you are engaged in your own safety.
What should a clinic do with reusable medical equipment?
Reusable equipment must be cleaned, then disinfected or sterilized according to the manufacturer's instructions and the level of risk. Critical items that enter sterile tissue require sterilization, often verified with a biological indicator (BI test) and chemical indicator. Semi-critical items need high-level disinfection. The clinic should keep logs of each reprocessing cycle, train staff on the steps, and audit compliance regularly. If a clinic cannot show these records, that is a red flag during verification.
How can I report an infection prevention concern in Ontario?
In Ontario, concerns about infection prevention and control in a healthcare setting can be raised with the local public health unit, which has authority over certain infection control requirements. You can also contact the clinic's management directly and ask for their IPAC lead. For regulated health professionals, the relevant college handles complaints about practice standards. Keep notes of what you observed and when, and ask for a written response. Reporting is a normal part of quality improvement and helps protect other patients.